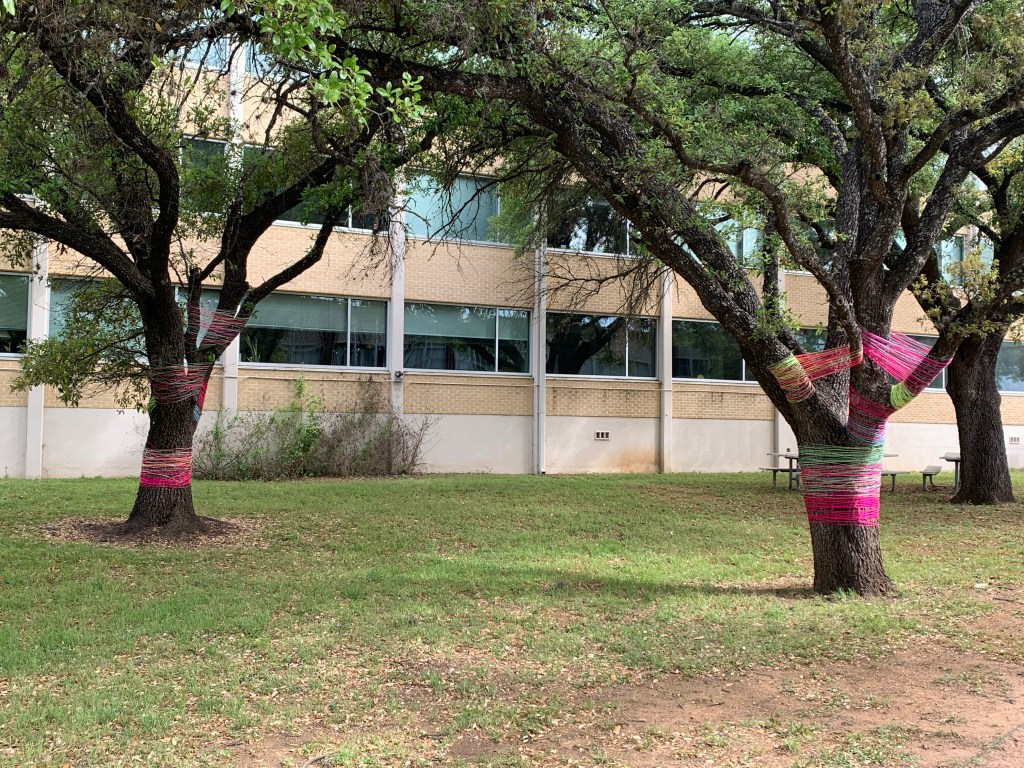
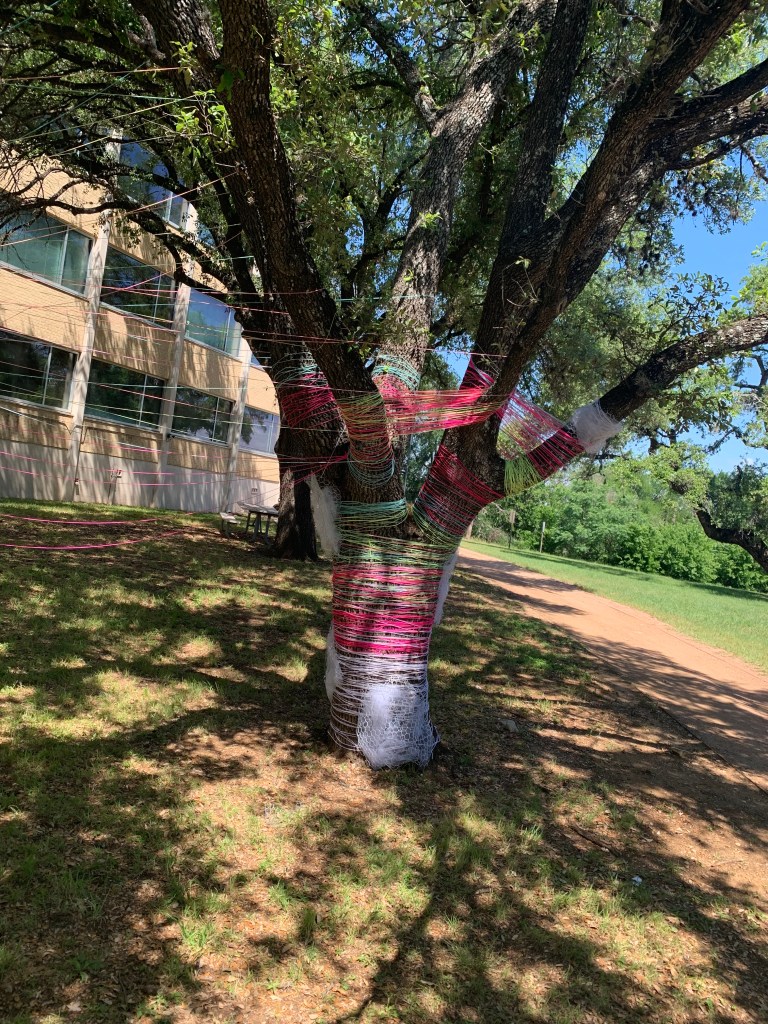
Week 1: Before starting our project, we scouted potential places to put our tree installation. After settling on a place to the side of the art building between two trees, we got together and discussed about the materials that needed to be ordered such as yarn, solar-powered string lights, and UV lights. Then, we took a picture of the location and made a layout sketch of the installation on top of a picture to get a better idea of how we are going to make the trees look. After getting our materials and having a sketch to work off of, we started wrapping some of the yarn around the tree barks. We also did some prototyping with the biomorphic shapes to get a better idea of how we wanted them to look on the trees. Then, added getting more chicken wire and white spray paint to our materials list.
Week 2: By this week, we finished wrapping yarn around the tree barks. Then, we moved on to wrapping yarn around the large branches and started “spider-webbing” the branches together with the yarn to add more interesting details. By the next class, we decided to just finish wrapping the tree branches in yarn and anything within our reach since it didn’t seem like a good idea to go any higher because of the rainy, windy weather that day. Afterward, we ended our work early, and we got more chicken wire and spray paint for the biomorphic shapes to be put on the trees accompanying the yarn.

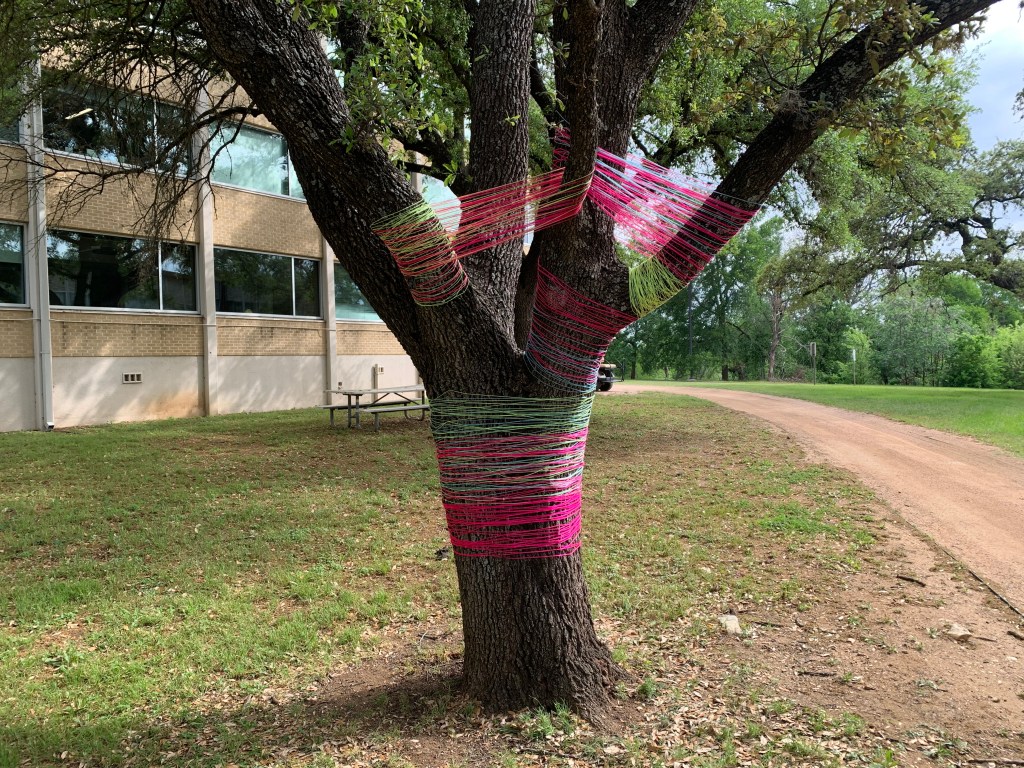
Week 3: Since we weren’t going to be here during the Spring Break, we tried to be as productive as we could be on Tuesday. We spent the day doing some more spider-webbing with the yarn wrapping between branches. Then, we started stringing the two trees together using rainbow yarn to have them hang between the two trees. We would throw the rainbow yarn between the tree branches and around the barks to get the stringy hanging piece.

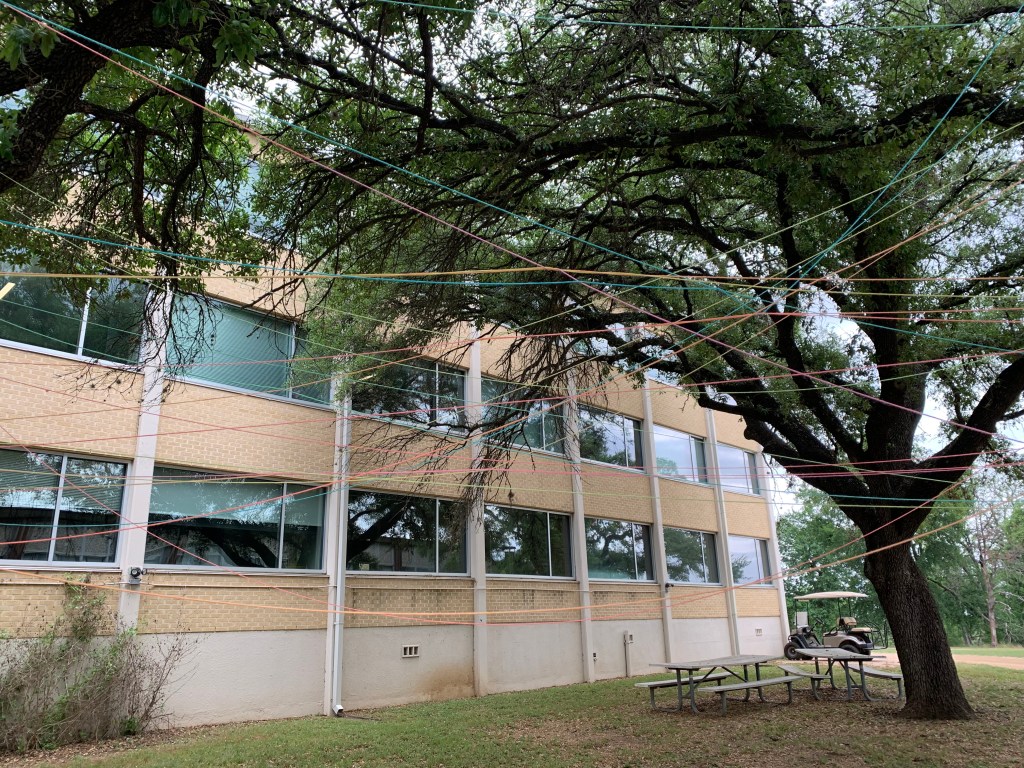
Week 4: We spent this week adding some solid-colored yarn to our hanging centerpiece to go with the rainbow yarn hanging already. Then, we started working on getting the biomorphic shapes onto the trees, so we measured them and put them up to see if they look good and/or needed tweaking. After making a couple of the biomorphic shapes, I started to spray paint them white outside on a large piece of paper as a covering to not get paint on the benches. I managed to spray paint 3-4 shapes before running out of white paint. We planned to buy a few more cans for the next class to finish spray painting the remaining shapes. After getting more white spray paint, we sprayed paint more of the biomorphic shapes. Afterward, we started putting up the shapes onto one of the trees and added some white mesh fabric into the shapes so they popped out more. They look like little clouds attached to the tree which actually looks pretty nice, especially with the yarn acting like the “rainbow” coming from them. To secure the biomorphic shapes onto the trees, we tied a yarn on one end wrapped it around the tree, and tied the other end to the other side of the shape.
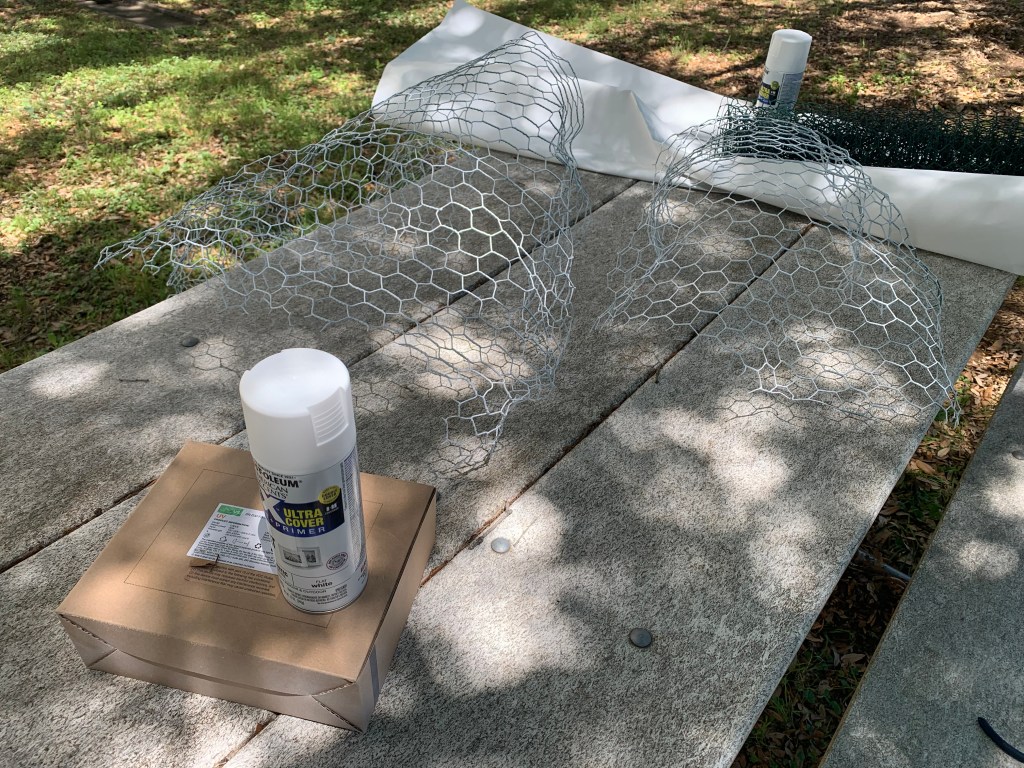
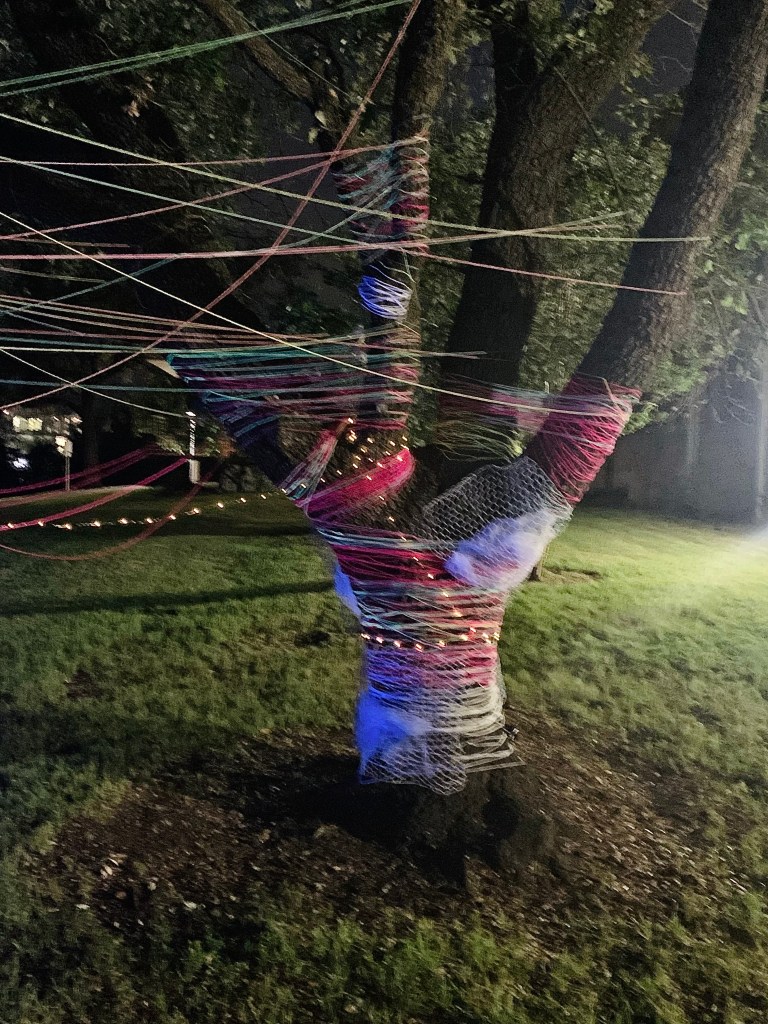
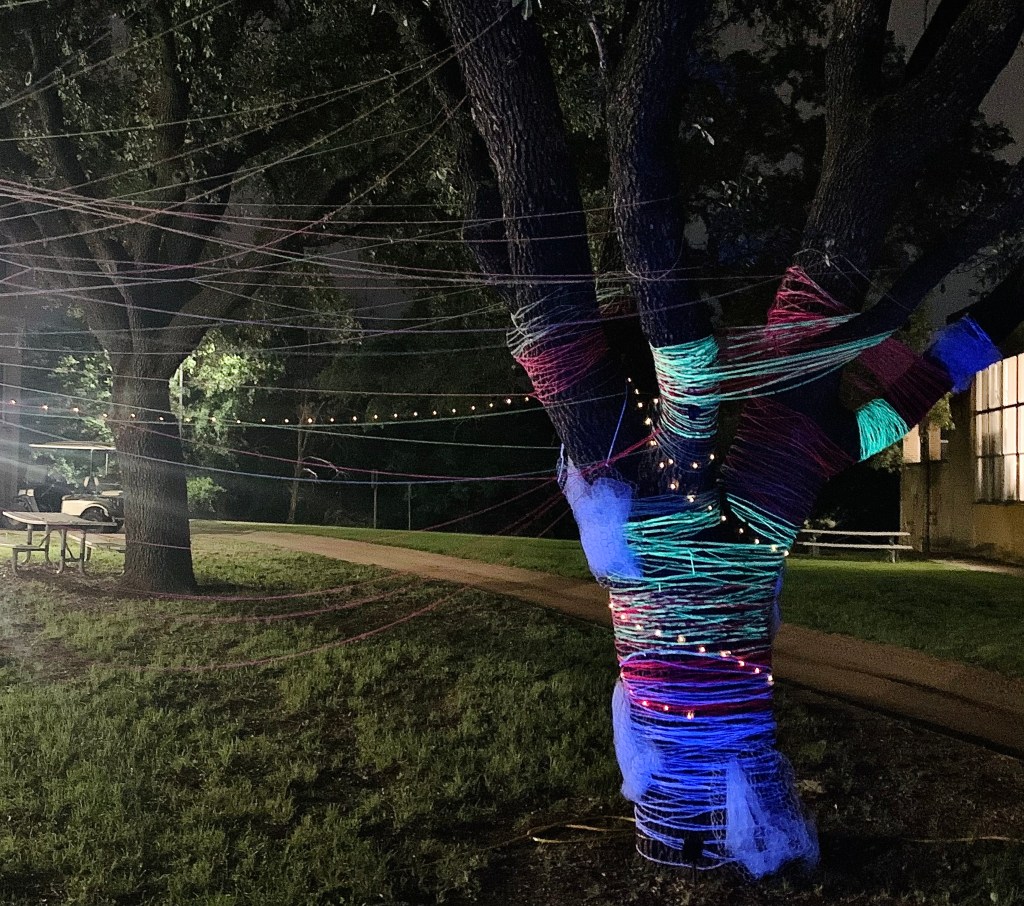
Week 5: By this week, we were pretty much done with our project for the most part with the exception of adding the final white biomorphic shapes to the other tree and securing them onto the tree by tying them around the tree with yarn. Then, we wrapped the string lights around part of the barks before stringing them along with the yarn to hang. We tried to make sure to put the mini solar panels for the string lights in a position where the sun would hit them, so the lights can charge during the day and light up at night. Lastly, we added the UV lights by using the extension cord to better reach the trees and plug the UV lights into them. Then, the project was done.
Personal Contributions: I helped wrapped yarn around the branches (“spider-webbing”), helped with hanging the rainbow yarn between the trees, and spray paint the biomorphic shapes white.


Awesome installation!
LikeLike